Virtual Flute: Play Flute Notes Online
Choose a note, hold it to hear a sustained flute-like tone, and release it to leave a space. This virtual flute is a free browser instrument for exploring pitch, short melodies, and listening. You do not need a microphone, an account, or a physical flute. The sound is synthesized on your device; it is not a recording of a concert flautist.
Play the flute
Original synthesized sound. No microphone. Select a labelled note; these controls are not physical fingering instructions.
Loading the instrument…
The controls are a note map, not a diagram of flute fingerings. A real concert flute, recorder, and bamboo flute use different playing techniques. Treat this page as a place to hear and compare notes, then take what you learn to the instrument you actually play.
Make your first three notes mean something
Start with C4, D4, and E4. Play C4 briefly, release it, and wait before playing D4. The second sound is higher. Move to E4 and listen for another step upward. Now reverse the order. You have already practised an important distinction: a melody can rise or fall while keeping roughly the same pace. You do not need to know a song before you can hear its direction.
On a touchscreen, press a note with one finger. On a computer, click and hold a button. You can also reach the note buttons with Tab, move between them with the arrow keys, and use Enter or Space for a short note. Keyboard activation gives a short, fixed-length sound; holding a mouse or touch pointer gives you direct control of duration. These are two convenient ways to explore the same pitches, not two different instruments.
Set a comfortable volume before playing several notes. The volume control affects the virtual instrument, not your device’s other applications. Use Stop sound when you want silence, or press Escape while the instrument has focus. Moving away from the tab also stops the instrument. There is no need to grant microphone access because the page does not listen to you.
Your first useful goal is to play three distinct sounds rather than a stream of accidental overlaps. Leave a small gap between them. Then try the same sequence with longer notes. Notice that the pitch names do not change when the duration changes. A note name tells you about pitch; a note’s length tells you how it occupies time. Keeping those ideas separate makes later exercises easier.
Read the virtual flute’s note map
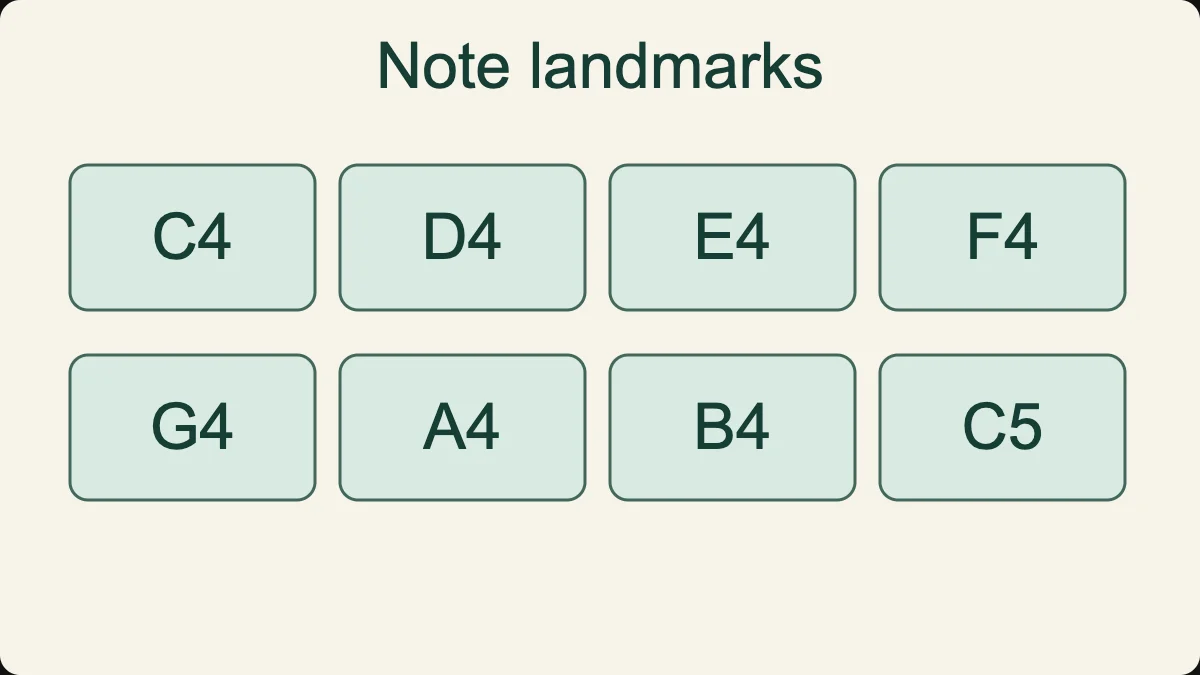
This instrument covers C4 through C5, including the chromatic notes between them. C4 and C5 share a letter name but sit an octave apart. The numbers identify the register. Without those numbers, two notes named C could be confused even though one is clearly higher. The display shows the sounding pitch and its frequency, which makes comparisons visible as well as audible.
The natural notes are C, D, E, F, G, A, and B. Between some neighbours you will find a sharp: C sharp, D sharp, F sharp, G sharp, or A sharp. In this equal-tempered tool, a sharp can also have an equivalent flat name. C sharp and D flat refer to the same sounding button here. They are not always interchangeable spellings in written music, but they do not require two different buttons in this instrument.
There is no extra button between E and F or between B and the next C. Those pairs are already one semitone apart. C to D spans two semitones, while E to F spans one. If you have previously imagined all neighbouring letter names as equally spaced, play E–F and then F–G slowly. Listen to the difference in distance, not to how far your finger moves across the screen.
The order of buttons is a learning aid. It does not represent the shape of a flute’s keywork. On a real flute, changing one note may involve several fingers and a change in the air stream. On this page, one button selects one fixed pitch. That simplification lets you concentrate on hearing the result, but it cannot teach embouchure, hand position, breath support, or coordinated fingering.
Use a reference note rather than guessing every time
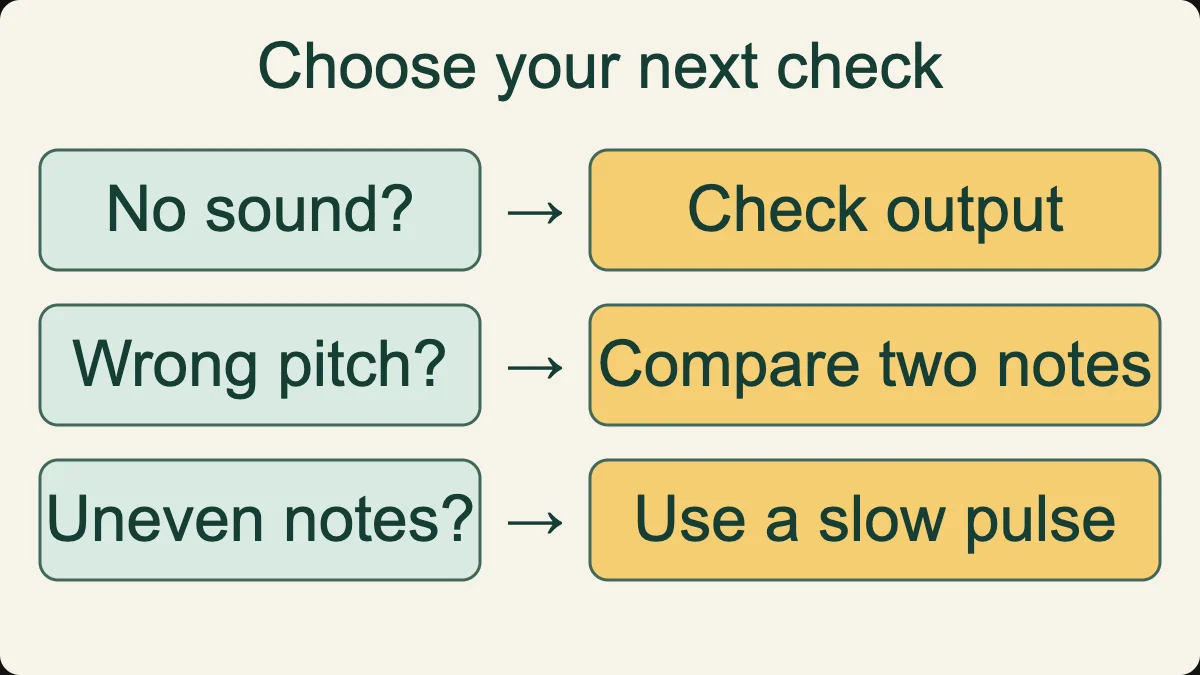
Choose C4 as a temporary home note. Play it, then play E4, and return to C4. The return helps you compare the second note with something stable. Next try C4–F4–C4. You do not have to name the intervals immediately. Ask whether the second jump seems larger than the first. This relative comparison is more useful than deciding that you are either naturally good or naturally bad at music.
When that feels comfortable, change the home note to D4. A reference is a role in an exercise, not a permanent property of C. Repeating a listening task from another starting pitch helps reveal whether you heard the relationship or simply remembered one familiar button sequence.
What the flute-like sound can and cannot show
The sound begins gently, stays present while you hold a note, and fades when you release it. Its tone is built from a fundamental and a small number of quieter overtones. This is an intentionally lightweight browser model. It avoids a large sample download and gives immediate control over note length, but it does not reproduce every noise, change of colour, or articulation of an acoustic flute.
That distinction matters when you compare this tool with an instrument recording. A performer can change the air stream, attack, dynamics, and tone across a phrase. A simple oscillator model cannot supply the same expressive detail. Use it to answer questions such as “Does this phrase move upward?” or “Which note comes next?” Do not use it to judge the tone quality of a student’s real flute playing.
Yamaha’s explanation of how a flute produces sound describes the acoustic instrument. The browser control here is different: it selects a frequency directly. Keeping that boundary clear prevents a useful listening aid from becoming a misleading substitute for practical instruction.
The virtual instrument also has a deliberately limited range. A button missing from this one-octave map does not mean that a real concert flute cannot play it. Conversely, being able to trigger a clean sound here says nothing about whether a beginner can produce it cleanly on a physical instrument. The page removes the physical difficulty so that a small musical idea can be heard in isolation.
Turn separate notes into a short phrase
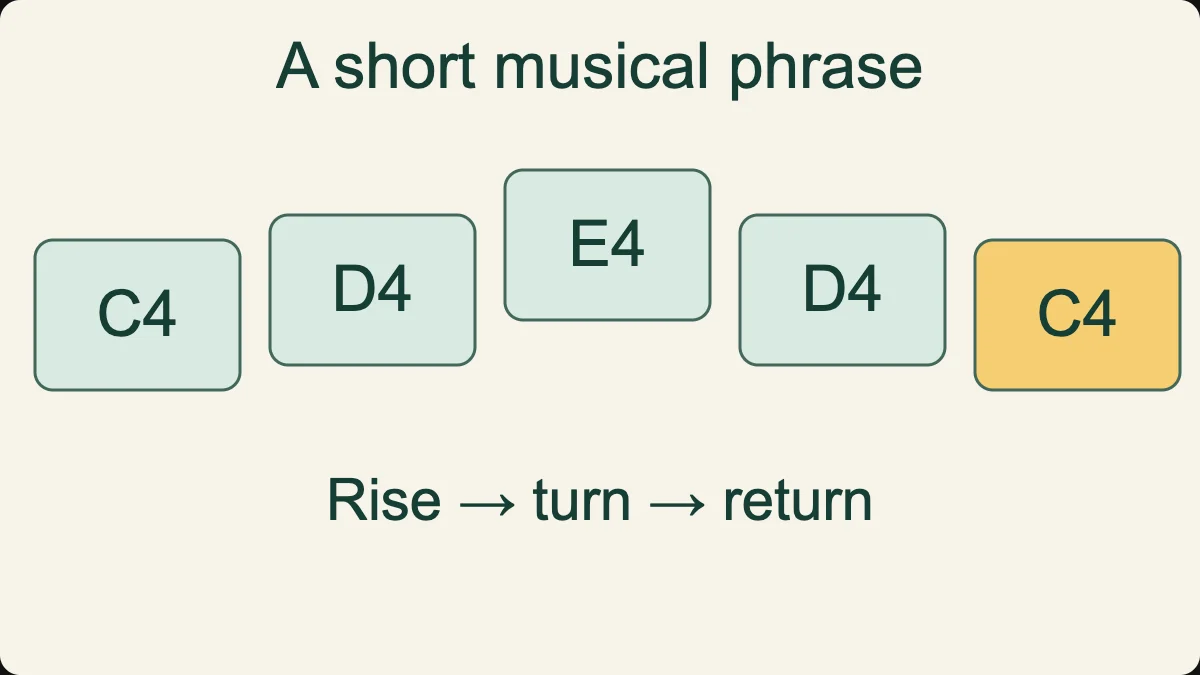
Try this original exercise: C4–D4–E4–D4, followed by C4. Give the first four notes equal time and let the last C last a little longer. The notes rise, turn, and return. That simple shape provides something to listen for. There is no backing track to hide behind and no score that pretends to measure your musical potential.
Play it once with a gap after every note. On the next attempt, reduce the gaps while keeping the sequence clear. Do not press all the buttons together. A melody is an ordered line of events, and leaving too many notes sounding at once can make its order difficult to hear. If the sounds blur, Stop sound and begin again more slowly.
Now keep the same notes but put a pause after E4. The phrase becomes C4–D4–E4, silence, D4–C4. The silence changes the shape even though the note collection is identical. This is a practical reason not to reduce music to a list of note names. Timing, grouping, and release contribute to what you recognise as a phrase.
Change one feature at a time
After a correct repetition, alter only the final note. Replace the last C4 with D4. Listen to whether the result feels less settled to you in this exercise. There is no universal emotional label attached to either ending. The question is whether you can hear that the ending changed, and whether you can remember which version you intended to play.
On another repetition, keep the ending but lengthen the first note. On another, shorten the middle notes. Working this way gives you a controlled comparison. If you change the pitches, speed, spacing, and register simultaneously, a different result is inevitable, but it becomes harder to explain what produced it.
You can write your own five-note pattern using only C4, D4, and E4. Include one repeated note and one return to C4. Play it twice without looking at the written sequence the second time. If you forget it, shorten the pattern to three notes. Reducing the task is a useful practice decision, not evidence of failure.
Use the three-note listening exercise
Select Listen and repeat to hear a short, original three-note sequence. Wait until the tool announces your turn, then choose the three notes in the same order. The result compares the pitches you selected with that specific sequence. It does not listen through a microphone, measure your flute technique, or make a diagnosis about your hearing.
The demonstration is intentionally short and repeatable. You can hear it again instead of guessing. If you miss the middle note, compare only the first two notes before trying the full sequence. If you reverse two notes, say “up, then down” or another simple description of the contour. A verbal reminder can help you attend to the relationship rather than chase the highlighted button.
The score is a count of matching positions. A result of two out of three means that two selected pitches matched their places in this exercise. It is not a percentage of your overall musical ability. Repeating the same fixed pattern can improve memory for that pattern, so a higher score on the next attempt should not be described as proof of broad ear-training progress.
For a different listening task, visit the music ear test or explore interval ear training. Those tasks should remain separate from free playing. Giving each activity a clear purpose helps you understand what you practised and choose a sensible next step.
Hear steps, skips, and the octave
Play C4–D4 and notice the small upward movement. Then play C4–E4. The second example skips over D4 in the C-major note collection. Finally play C4–G4. You now have three different distances from the same starting point. Repeat them in another order and try to identify the smallest and largest movement without watching the controls.
“Step” can depend on the scale being discussed. In a C-major pattern, E–F is a step even though it is a semitone, while C–D is a step spanning two semitones. If you need an exact distance, count semitones. If you are describing a melody’s movement within a scale, steps and skips can be a useful simpler vocabulary.
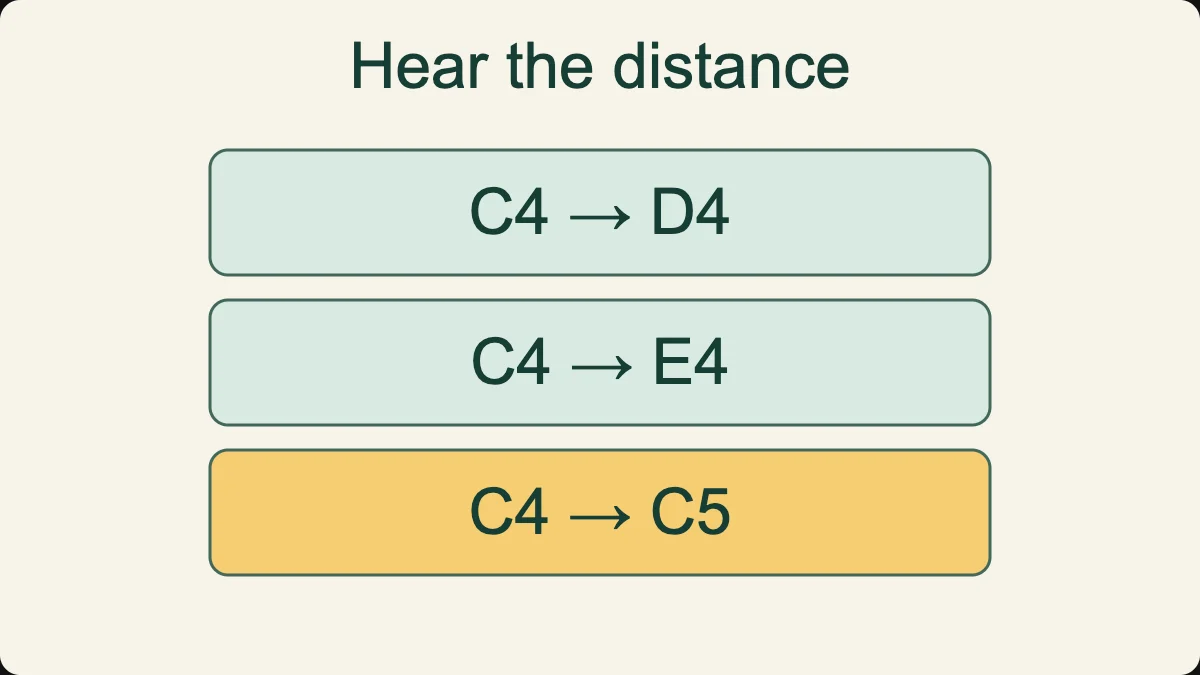
C4–C5 is an octave in this tool. The higher C has twice the frequency of the lower C in the equal-tempered calculation. That numerical relationship does not mean the higher note should be played twice as loudly or held twice as long. Pitch, volume, and duration are separate controls, and an octave example is a good way to keep them distinct.
Do not try to learn every interval name in one sitting. Begin with an audible contrast: a close step versus a wide jump. Once that distinction is dependable, attach names to a smaller set. The goal is to connect a term to a sound you can actually recognise, not to memorise a table faster than you can use it.
Keep a pulse without rushing the melody
A steady pulse gives you a reference for where a note begins. Open the online metronome when you want an external beat. Choose a comfortable tempo and use one click for each note in C4–D4–E4–D4. If four notes already feel hurried, slow the pulse instead of trying to rescue the last note with a sudden burst of speed.
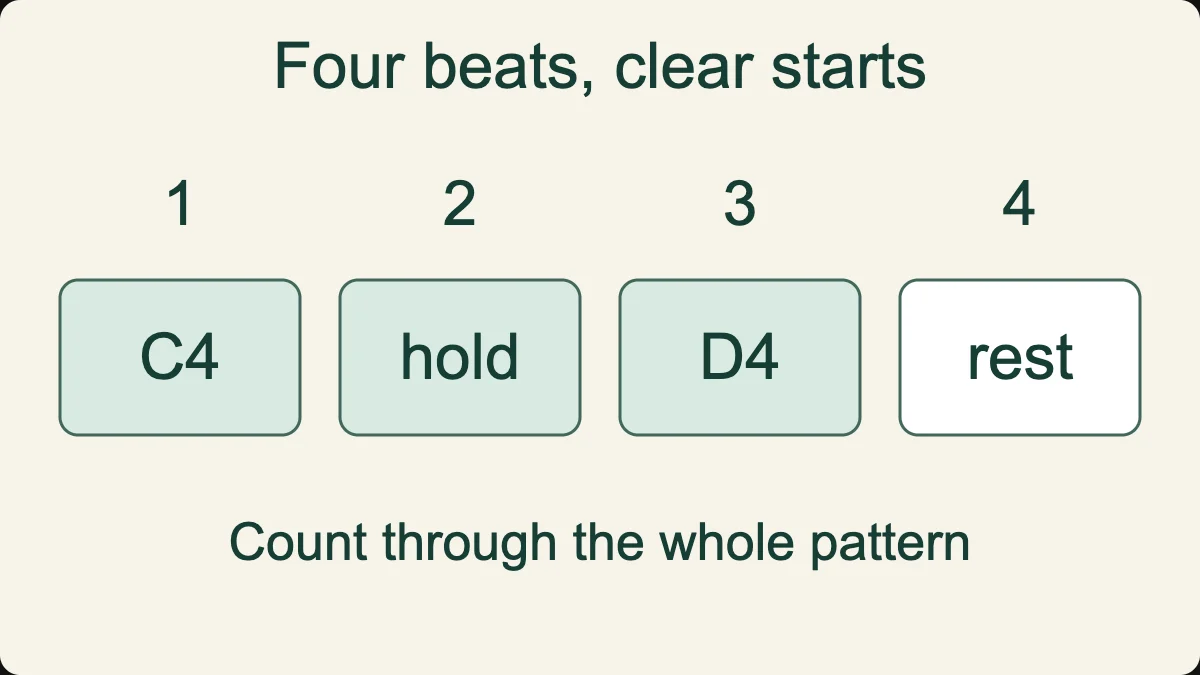
Next play one note for two clicks. Press C4 on a click, keep it sounding through the next one, and release before the following note. Then repeat with D4. You are practising the difference between a beat and a note: one note may last across more than one beat, and a beat may occur while no new note starts.
Finally leave a complete beat silent between two notes. Count through the gap rather than restarting your count when the sound returns. This small rest exercise is often more revealing than a longer melody. If the pause becomes shorter each time, the timing needs attention even when every pitch is correct.
A short practice session with a clear finish
A written check you can answer before playing
Write down these two orders: C4–D4–E4 and E4–D4–C4. Before touching the instrument, predict which rises and which falls. Play each once to check. Next write C4–E4–D4. This one changes direction: it rises by a larger distance, then comes down by a smaller one. Describing that shape is more informative than saying only that it contains three different notes.
For a duration check, use C4 three times. Make the first two notes short and the last one longer. Because the pitch stays unchanged, any difference you hear belongs to timing or the way you started and stopped the sound. If you accidentally move to another button, restart with your finger already positioned over C4. This separates a navigation mistake from a listening mistake.
When you can explain your prediction and verify it with sound, you have a useful practice loop: imagine, play, compare, and adjust. Keep a written version if remembering the order is the difficult part. Removing one unnecessary memory demand lets you give more attention to the sound itself.
Start by checking sound at a low, comfortable level. Play one note and stop it. Spend the next minute finding C4, E4, and G4 without searching the whole map. Then use the five-note phrase above, repeating only until you can play it with a clear beginning and ending. Finish with one listening exercise and a brief note about what was difficult.
Your note might say “I confused D and E after the pause” or “I shortened the last note when using touch.” Those observations are actionable. “I am terrible at this” is not. On your next visit, begin with the specific problem instead of repeating the whole session automatically. A practice record can be useful without turning every small action into a performance score.
If you already play a physical flute, separate browser listening from physical practice. First hear a short phrase here. Then put the screen aside and practise it with the technique guidance you use for your own instrument. Do not copy the screen’s button positions onto your flute. The useful transfer is the remembered musical idea, not the movement of your index finger on glass.
If you are completely new to music, stay with three notes for a while. Expanding the note collection is not automatically an improvement. A small set can still support different rhythms, directions, endings, and listening questions. Add another pitch when it gives you a new musical choice rather than simply a longer list to remember.
Fix silence, clicks, and confusing playback
If you hear nothing, begin by tapping a note. Browsers commonly require a user action before starting audio. Check whether the tab is muted, whether your headphones are connected to another device, and whether the system output is directed somewhere unexpected. Raising the virtual instrument’s slider cannot fix a muted operating-system output.
If sound starts late, test the built-in speaker or wired headphones at a comfortable volume. A wireless audio connection can add delay. A browser under heavy load can also respond unevenly. Close unnecessary demanding tabs before concluding that your timing is wrong. This page does not promise the latency or reliability of dedicated music hardware.
If a sound seems stuck, use Stop sound or Escape. The tool also releases sound when the tab becomes hidden. Repeatedly reloading while a note is playing should not be necessary. If a problem persists, note the browser, device type, and action that preceded it, without including private account information, and send a description through KulakApp support.
If you cannot distinguish neighbouring notes clearly, lower the pace and compare them against the same reference. Do not solve uncertainty by increasing volume aggressively. Use comfortable playback and a quiet setting if available. This is a musical exploration tool, not a hearing assessment, and it should not be used to draw health conclusions.
Questions about playing flute online
Is this virtual flute free?
The browser instrument and short listening exercise on this page are free to use. You can select notes without creating an account. KulakApp’s mobile application is a separate product; its current access and subscription details belong to its store listing and in-app information.
Does it use a real flute recording?
No. This version generates a flute-like tone with Web Audio synthesis. That makes it small and responsive, but it does not reproduce the full sound of an acoustic concert flute or a particular performer. It is labelled as synthesis rather than a recorded instrument.
Can I learn recorder fingerings here?
No. The note buttons are not holes or fingering positions. A recorder has its own technique, and different fingering systems exist. Use a source matched to your actual instrument for physical fingering, and use this page only to hear pitches and short musical patterns.
Why are some notes written with a sharp?
The tool displays one convenient spelling for each chromatic pitch. In equal temperament, C sharp and D flat share a frequency, for example. Musical notation may require one spelling rather than the other depending on context. The button label is not a rule for spelling every melody.
Can I play a full song or record my microphone?
You can explore phrases that fit this limited range, but this tool is not a song library or recording studio. It does not request microphone access or record your voice. The built-in listening example is an original short exercise, not a licensed song excerpt.
What should I practise after the three-note exercise?
Choose one difficulty you noticed: pitch direction, remembering order, or keeping time. Work on that first. For structured listening and progress practice, explore KulakApp; for another free sound layout, compare the same short phrase on the virtual piano or virtual melodica. The app is not being presented as a flute simulator.
Keep the next step small enough to hear whether it worked. A clean three-note phrase, a deliberate rest, or one accurately recognised direction is a concrete result. More buttons and a longer melody can wait until they help you make a musical decision.