Virtual Violin: Explore Strings and Play Notes Online
Play a note on one of four virtual strings, compare its pitch with a neighbouring position, and listen to a short phrase. This online violin uses the standard G3, D4, A4, and E5 open-string pitches. Its sound is synthesized, and its numbered pitch steps are a visual learning aid—not physical frets or a substitute for learning to bow a violin.
Play the violin
Original synthesized sound. No microphone. Select a labelled note; these controls are not physical fingering instructions.
Loading the instrument…
Touch or click a note to hear it. Holding a pointer sustains the sound; releasing it ends the note. Keyboard users can move between note buttons and trigger short notes with Enter or Space. The tool works without microphone access, so it does not listen to your instrument or tell you whether your physical violin is in tune.
Begin with the four open strings
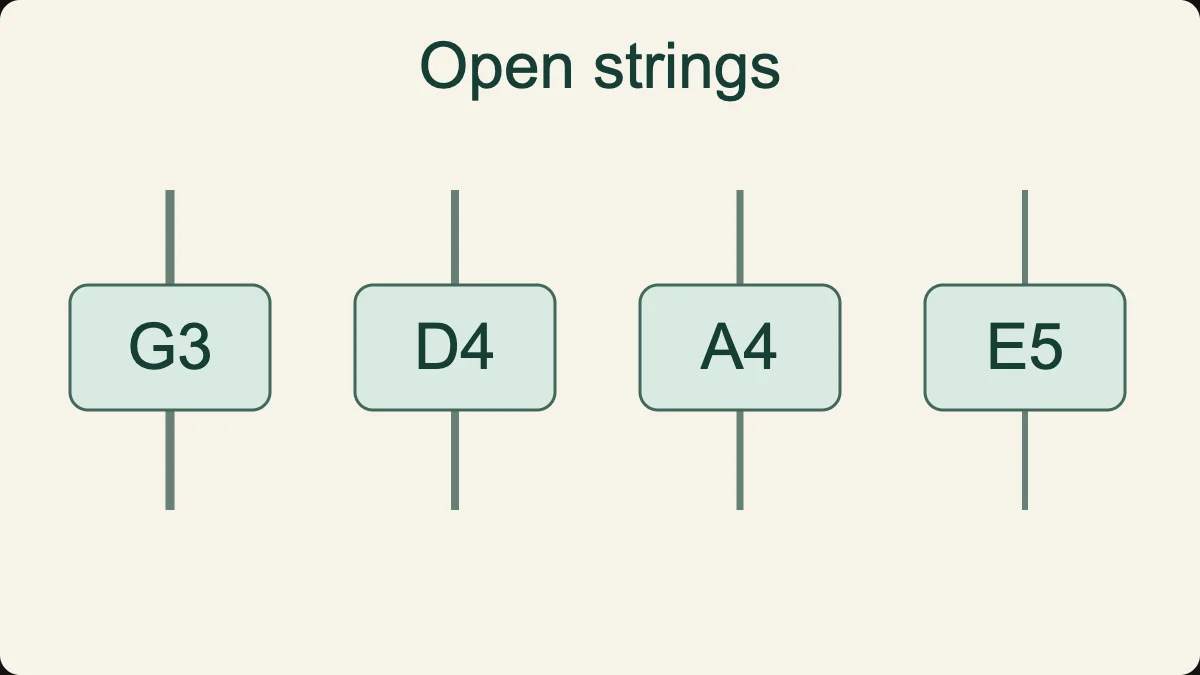
The four rows begin on G3, D4, A4, and E5. These are the open-string pitches in standard violin tuning, ordered from low to high. Start with the first button in each row. Play G3, stop it, then play D4. Continue through A4 and E5. You are comparing four starting points, not climbing a scale one neighbouring note at a time.
Each pair of adjacent open strings is a perfect fifth apart. In the equal-tempered pitch calculation used here, that is seven semitones. Count seven button steps upward from G3 and you reach D4, which is also the next string’s open pitch. The repeated note connects the rows. It explains why a musical pitch can be available in more than one place on a stringed instrument.
Listen to the open strings in reverse order as well. Many beginners find an ascending sequence familiar after a few repetitions but hesitate when descending. Changing direction checks that you understand the layout rather than memorising a single gesture. Keep a little silence between the notes so that a lingering sound does not blur the comparison.
For acoustic context, Yamaha’s guide to the violin’s strings explains the physical instrument. The screen is a simplified pitch map. It does not represent the feel of string tension, the spacing of a particular instrument size, or the coordination between your left hand and bow.
Understand what a step along a row means
Each move to the next button raises the pitch by one semitone. On the G row, the first positions are G3, G sharp3, A3, A sharp3, and B3. On the D row, the sequence begins D4, D sharp4, E4, F4, and F sharp4. The visible labels show the sounding pitch, so you can check your expectation instead of counting blindly.
A real violin has no frets. A player chooses pitch by stopping a string at a precise place, and the spacing between pitches changes as the hand moves along the fingerboard. The evenly spaced buttons here are therefore not a scale drawing. They deliberately separate pitch choices so that they are usable on a small screen and with a keyboard.
Do not turn the button count into a finger-number rule. The second semitone position does not automatically mean “second finger.” A first-position fingering pattern depends on the notes, key, hand shape, and teaching approach. Yamaha’s fingering explanation is a useful starting point for understanding the physical distinction. For your own playing position, use guidance matched to your instrument and experience.
The tool stops at seven semitone steps above each open string. This is a compact exploration area, not the violin’s complete range. Missing higher positions are not a claim that the instrument cannot reach them. Limiting the screen makes the first comparisons clearer and avoids squeezing an unreadable full fingerboard onto a phone.
Sharps, flats, and repeated pitches
The display uses sharp names for the five altered pitch classes. In this equal-tempered model, G sharp and A flat share a frequency, as do C sharp and D flat. Their spelling in written music depends on musical context. If your score says B flat, the A sharp button gives the corresponding pitch here; that does not mean the score should be rewritten with A sharp.
Repeated pitches across strings are especially useful. Compare D4 at the end of the G row with D4 at the beginning of the D row. Their displayed frequencies match. This particular synthesis model also gives them the same tone. A real violin can sound different when the same pitch is played on different strings, so the tool isolates the pitch relationship rather than reproducing that string-specific colour.
What the virtual bow does—and does not do
Holding a note keeps an electronic violin-like tone sounding. The sound has a gradual attack and several harmonics, which makes it different from the short decay of a plucked or struck instrument. Releasing your pointer lets the note fade. This gives you control over phrase length without needing a large downloaded recording for every possible duration.
There is no physical bow simulation here. The tool does not calculate bow pressure, contact point, bow speed, or the friction between hair and string. Calling a held button a real bow would be misleading. It is a simple duration control that lets you compare notes and make a short musical line audible.
That limitation can still be useful. When listening is your task, you may want to remove the challenge of producing a clean acoustic tone. A beginner can hear G–A–B before trying those pitches on a physical violin. An experienced player can quickly check a note relationship without unpacking an instrument. Neither activity replaces the tactile and expressive work of playing.
Begin at a modest volume, especially when exploring the E string’s register. A clear sound does not require a loud sound. Use Stop sound whenever you need silence. If you leave the tab or the page loses focus, the tool releases its sounds rather than continuing unattended.
Play an original phrase on one string
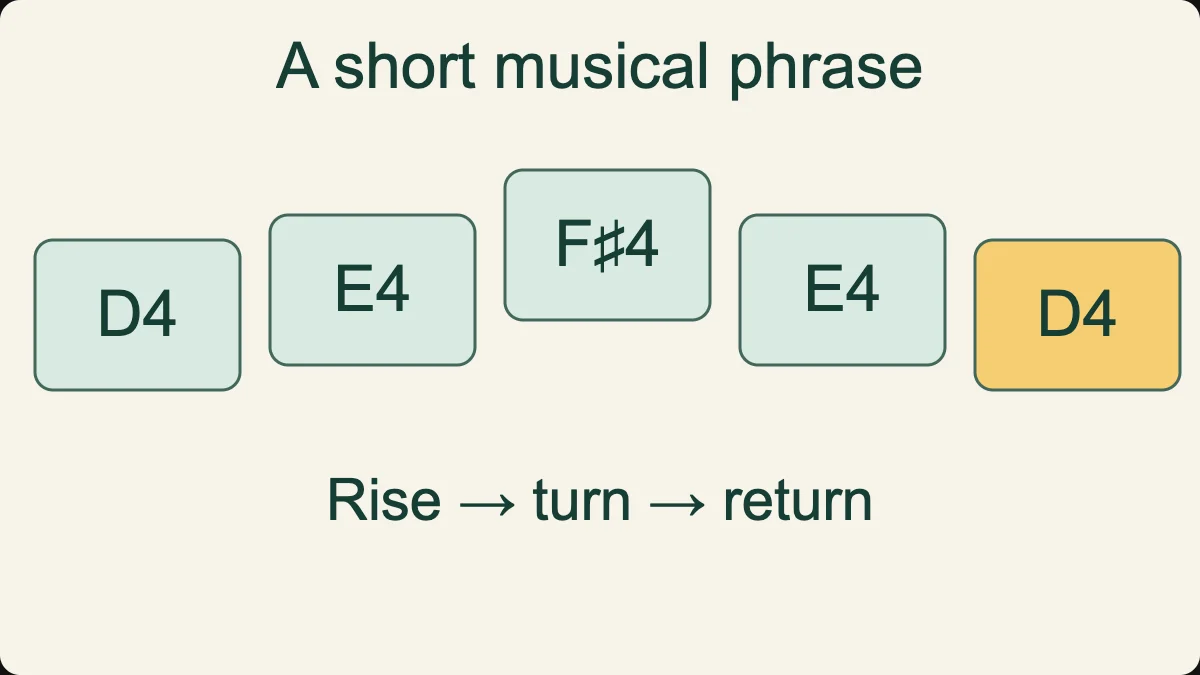
Use the D row and find D4, E4, F sharp4, and G4. Play D4–E4–F sharp4–E4–D4, with equal spacing between the first four notes and a longer final D. This short pattern rises and returns without crossing strings. The absence of a crossing lets you concentrate on the order of pitches and the end of the phrase.
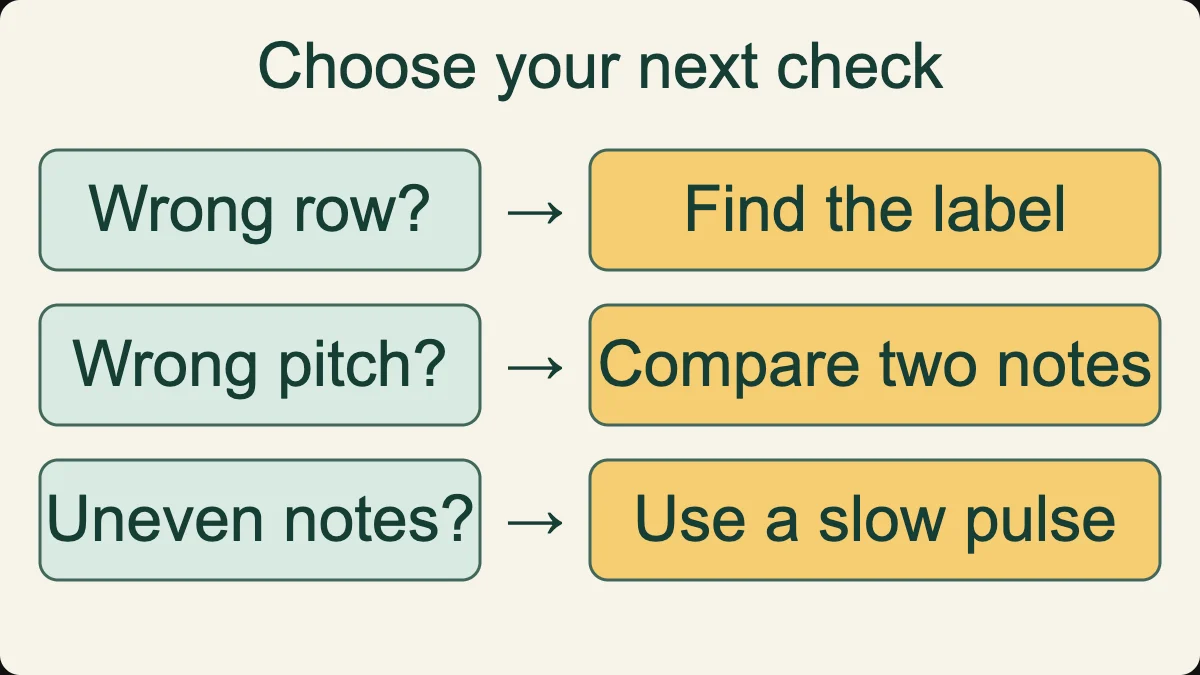
Before the next repetition, say the direction quietly: up, up, down, down. Then play without reading every label. If you choose F4 instead of F sharp4, stop and compare those two neighbouring buttons. They are one semitone apart. The purpose is not to punish the wrong choice but to make the difference between the intended and actual pitch clear.
Now change the middle pitch from F sharp4 to G4. The pattern becomes D4–E4–G4–E4–D4. It contains a wider leap near the middle. Compare the two versions at the same pace and volume. Because only one note changed, you can hear what that change did. A longer melody with several simultaneous changes would make the comparison harder to follow.
Leave a deliberate space
Insert one silent beat after the highest note. Keep counting through the pause, then return through E4 to D4. A rest is not a failure to produce sound; it is part of the timing. If you hurry the silence, the phrase changes even when you select every pitch correctly.
Try releasing each note fully before starting the next. Then reduce the gap while keeping the order audible. The tool permits overlapping electronic sounds, but an overlap is not automatically a convincing violin legato. On a real instrument, bowing and fingering coordination control the connection. Here you are listening to continuity and spacing in a simplified model.
When you can reproduce the phrase twice, stop and describe what you changed. “I held the ending longer” is a precise observation. “It sounded more professional” is less useful because it does not identify an action you can repeat. Good practice notes tell you what to do next time.
Cross from one string to another
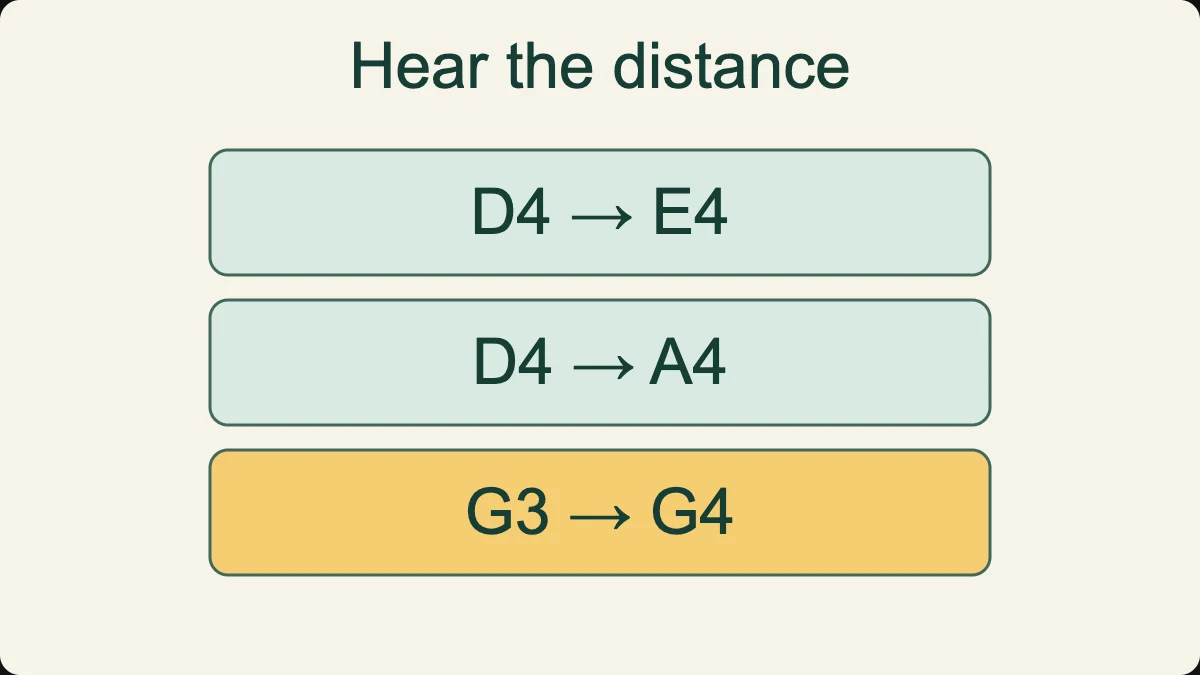
Play open D4 followed by open A4. This is a fifth upward. Reverse the order to hear the same interval descending. Then play D4–E4 on the D row before moving to A4. You now have a step followed by a larger leap. Naming the two different movements helps prevent the entire phrase from becoming a single memorised pattern of taps.
For a gentler crossing, find A4 at the far end of the D row and compare it with open A4 on the next row. The pitch stays the same while the screen location changes. On a physical violin, choosing between these positions has implications for fingering, tone, and phrasing. The browser example establishes only the shared pitch.
Do not use the number of screen movements to estimate how difficult a real passage is. A quick tap between distant rows can be trivial on a phone, while the equivalent physical action may require a controlled bow crossing and left-hand preparation. The reverse can also happen: an awkward mobile layout might make a simple musical idea feel harder than it is.
Keep crossings separate from speed practice at first. Choose two notes, find both locations, and alternate slowly. Once the pitch choices are dependable, place them against a steady beat. If you begin by racing across all four rows, it is difficult to tell whether a mistake came from navigation, rhythm, or listening.
Use the listening exercise without overinterpreting the score
Listen and repeat plays a fixed three-note pattern, then waits for your response. Select three notes in the order you heard them. The tool compares the selected pitches with the target sequence and reports how many positions match. It does not record an acoustic violin, and it does not evaluate bowing, intonation on a real string, posture, or expression.
If the score is lower than you expected, compare the first two notes separately. Did the sound rise or fall? Was the movement small or wide? Replay the example and focus on one relationship. You can also watch the labels on an initial attempt, then look away for the next one. Those are different levels of support, not a pass-or-fail test of talent.
Repeated attempts on an unchanged pattern train memory for that pattern. A perfect result after several repeats is satisfying, but it should not be described as evidence that all interval recognition has improved. For variety, use the interval listening test and the short music ear test, each with its own stated purpose.
Notice whether your difficulty is remembering order or identifying pitch direction. These are related but not identical tasks. If you can hear every movement but forget the ending, shorten the sequence. If you remember the rhythm but choose the wrong middle pitch, compare the neighbouring notes against a stable reference.
Build a simple rhythm around two notes
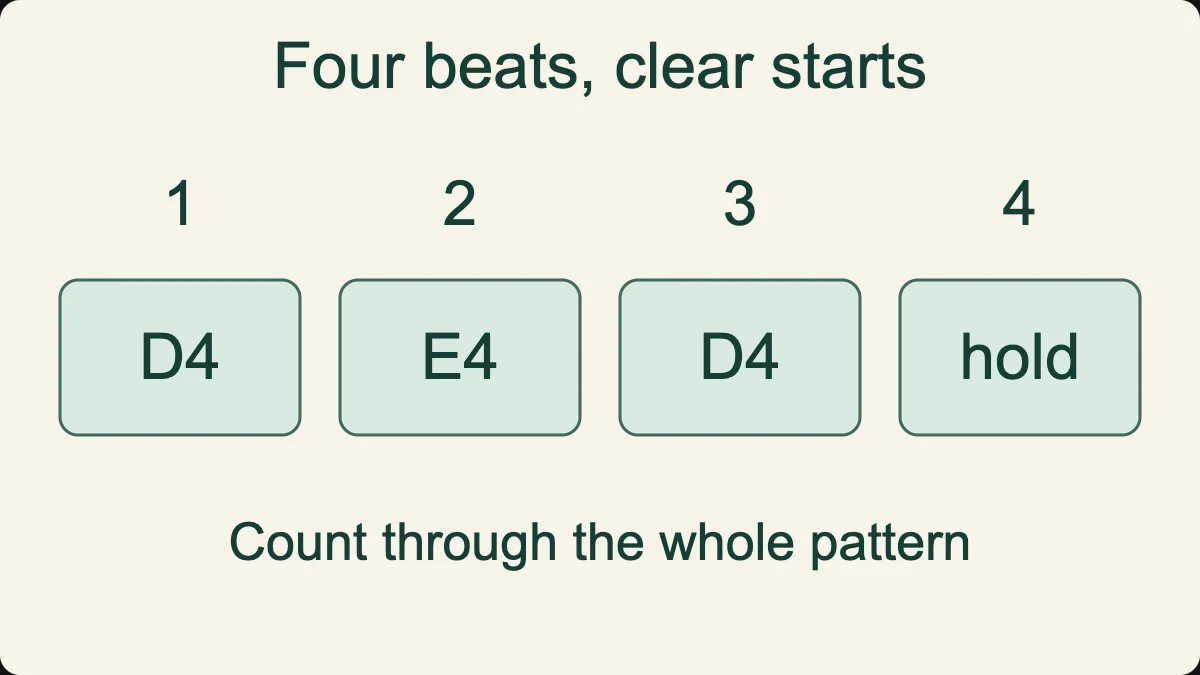
Choose D4 and E4. Play D4 for one beat, E4 for one beat, then D4 for two beats. The pitch material is minimal, so most of your attention can go to duration. Use the online metronome if you want an external pulse, and choose a pace that leaves time to prepare each note.
Next reverse the lengths: hold the first D4 for two beats and play the final two notes for one beat each. The total duration remains four beats, but the grouping changes. This is a useful reminder that knowing the note names is only one part of understanding a phrase.
Finally replace the last beat with silence. Count it rather than stopping the exercise early. If you use a physical violin later, you will need to translate the timing into bow planning. The browser version simply lets you hear the pattern and decide where the sound should begin and end.
A focused practice plan for a short visit
Check a prediction before adding another exercise
Find G3 at the beginning of the lowest row. Predict where its octave, G4, will be in the displayed area. It is available on the D row: D4 to G4 spans five semitones. Play G3 and then G4 to check the result. You have connected three pieces of information: the open-string starting pitch, the semitone steps along a row, and the sound of an octave.
Now find two ways to play A4. One is the open A string; the other is seven semitones above D4. Play both with the same duration. The equal pitch is the point of this exercise. If one seems louder because you held it longer or overlapped another note, stop and compare again with a clean gap. A controlled comparison avoids confusing duration with pitch.
Write down G3–D4–A4 and A4–D4–G3. These sequences contain the same notes in opposite directions. Before playing, say which direction each moves. Then write G3–A3–G3. This third sequence stays close to its starting point. Being able to explain the difference in contour is useful even before you can read it on a staff.
These are browser-map exercises, not fingering recommendations. They are deliberately short so that every answer can be checked immediately. If a prediction is wrong, identify the mistaken assumption: did you start on the wrong row, count the starting button as a step, or confuse an octave with an adjacent string? Correcting that assumption makes the next attempt more meaningful than simply repeating faster.
First, find the four open strings and play them once in each direction. Second, choose one row and make a three-note pattern. Third, compare a close step with a wider jump from the same starting pitch. Finish with one listening exercise. The session is complete when you can state what you practised, not when you have pressed every button.
If you have more time, repeat the same musical task on a different string. For example, a pattern beginning D4–E4 can become A4–B4 when shifted to another starting point. Check all pitches rather than moving your hand mechanically: string relationships and available buttons need to be understood, not assumed.
Keep one observation for the next visit. It might be “I confuse a repeated note with a small step” or “I lose the beat while crossing rows.” Start there next time. A short task aimed at a known difficulty is often easier to evaluate than a long session of unstructured tapping.
For physical practice, take a short phrase to your teacher or existing study material. Ask how the phrase should be fingered and bowed on your instrument. The note map is a preparation aid; safe, comfortable physical technique needs attention that a generic browser page cannot provide.
When the violin does not respond as expected
If there is no sound, tap a note to start the browser’s audio engine. Check tab muting, system volume, and your selected output device. Headphones can remain connected to a different device or an output can change after a call. Solve those routing problems before changing the musical exercise.
If touch notes stop sooner than intended, keep your finger on the button rather than beginning a scroll gesture. The page is still a reading page, so the instrument should not trap every movement. You can practise short notes instead of sustained notes when using a cramped screen. On desktop, the pointer controls are the easiest way to vary duration deliberately.
If notes seem delayed, try a quieter browser session and compare a wired output with your wireless connection. The tool cannot remove every device or Bluetooth delay. Do not interpret inconsistent audio response as a musical weakness. A steady practice pulse requires a device setup that responds consistently enough for the task.
If several notes accumulate, use Stop sound and restart with a single row. The synthesis has a voice limit and a safety duration, but those safeguards are not reasons to leave overlapping notes running. Clear starts and stops make the musical relationships easier to hear.
Virtual violin questions
Before moving to the questions below, make one final comparison with identical timing: open D4, then E4, then open D4 again. Repeat with G4 as the middle note. The two examples start and end in the same place, so the middle distance is the main variable. If you can explain which movement is wider and reproduce it deliberately, you have completed a clear listening task. You do not need to add speed, more strings, or a longer sequence to make that result worthwhile.
Is the online violin a real violin recording?
No. It uses a lightweight synthesized tone with a sustained envelope. It does not contain sampled performances, and it does not reproduce all the expressive changes of bow pressure, string choice, or vibrato. The benefit is direct, simple control of note pitch and length.
Can I tune my physical violin with it?
You can hear the standard open-string reference pitches, but this page has no microphone input or pitch detector. It cannot tell you whether your string is sharp or flat, and it is not a substitute for a tuner or supervised tuning instruction.
Why does the violin have buttons if a real violin has no frets?
The buttons separate selectable pitches for touch and keyboard accessibility. Their spacing is not a physical fingerboard diagram. Each step is a semitone in the browser model; it does not identify which finger to use on a real violin.
Why do two different buttons sometimes sound the same?
Some pitches are available on more than one row. D4, for example, appears at the seventh step of the G row and as the open D row. In this model they use the same synthesis. Real string choice can change tone, but the pitch relationship remains useful to understand.
Will the exercise grade my violin ability?
No. It compares three selected notes with one short target. It does not measure your real playing or make a judgement about aptitude. Use the result to choose a smaller listening task, not to label yourself as musical or unmusical.
What is a useful next step?
Compare a short phrase with the virtual piano to see the same pitches in another layout, or use the note-reading test to connect pitch names with notation. For structured listening practice and progress tracking, explore KulakApp. Its mobile app is not being advertised here as a physical violin teacher or this browser simulator.
Return to a small, audible question whenever the screen feels busy. Can you hear the difference between a step and a fifth? Can you hold the ending without changing pitch? Can you repeat a three-note order? Answering one of those questions clearly is a better use of this tool than rushing through every string.