Virtual Guitar: Explore Strings and Notes Online
Play a note on this virtual guitar to hear its pitch and see where it sits on a six-string map. You can compare open strings, explore the first seven semitone positions, and repeat a short listening pattern. The instrument runs in your browser without a microphone or an account. Its plucked sound is synthesized, not a recording of an acoustic or electric guitar.
Play the guitar
Original synthesized sound. No microphone. Select a labelled note; these controls are not physical fingering instructions.
Loading the instrument…
This is a small note explorer, not a complete guitar simulator. It does not model picking direction, string bending, fret pressure, or a full fretboard. Start with individual notes and use the explanations below to connect the sound with a position. A clean note here does not mean that the same note will be clean on a physical guitar.
Start with one string and three notes
Find the row that begins with D3. Play its open position, then the position two semitones higher, E3, and then F sharp3, four semitones above the open string. Let each sound begin clearly before playing the next. You have made a short rising line without needing to memorise a song or a chord diagram. Return to E3 and then D3 to hear the line come back.
On a phone, tap the labelled note buttons. On a computer, click a button or move to it with Tab. The arrow keys move focus between notes, and Enter or Space plays the focused note. The sound fades after it starts, so keeping your finger on a button is not the same as sustaining a bowed note. Press Stop sound or Escape whenever you want to clear the ringing notes.
Begin at a low, comfortable volume. The slider controls this instrument, while your device volume controls the final output. If the instrument seems silent, check both before increasing either. A phone speaker may reproduce the lower strings less strongly than the high strings. Headphones can make comparison easier, but a higher volume is not a solution to an unclear musical pattern.
For the first minute, stay on the D row. Moving between all six strings immediately makes it harder to tell whether an error came from choosing the wrong row or the wrong position. When three notes are easy to find, look away briefly and repeat their order from memory. Then check the labels. The useful result is a clearer connection between what you heard and what you selected.
Read the six-string note map
The open strings, from lowest to highest, are E2, A2, D3, G3, B3, and E4. The letter identifies the note and the number identifies its register. The two E strings share a name but not a pitch: E4 is two octaves above E2. The rows on this page are arranged as a labelled learning map rather than as a promise about the way every guitar diagram will be drawn.
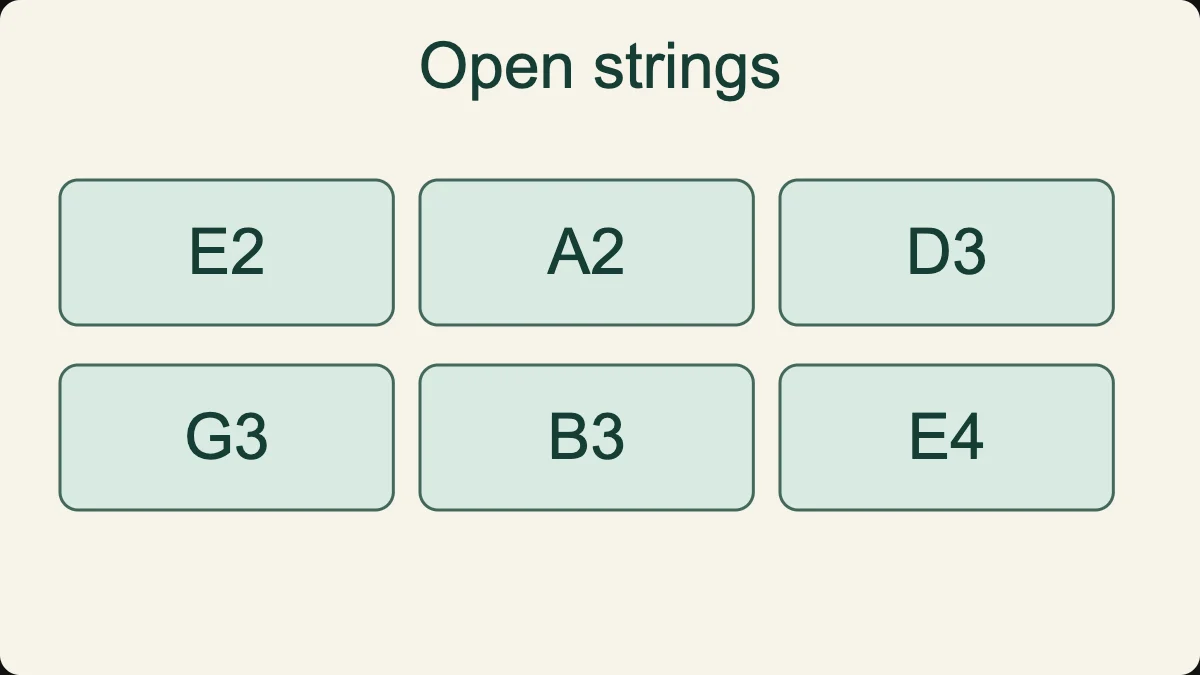
Each following position raises the pitch by one semitone. Position zero is the open string, position one is one semitone higher, and position seven is seven semitones higher. That means the low E row begins E2, F2, F sharp2, G2, G sharp2, A2, A sharp2, B2. Read the note label rather than guessing from the shape or colour of the button.
A semitone is the smallest step in this tool’s equal-tempered pitch map. Two semitones make a whole tone. There is no extra note between E and F, or between B and C, in this system. If you move from E to F, you move one position. If you move from F to G, you move two. This difference explains why letter names alone do not tell you how many positions to travel.
The tool uses sharp names for the intervening notes. A sharp may have an equivalent flat name in equal temperament: F sharp and G flat sound at the same frequency here. Their written names can serve different musical purposes, so this display should not be treated as a rule that flats are unnecessary. For a broader visual introduction, compare the same notes on the virtual piano keyboard.
Why the gap changes between G and B
Most neighbouring open strings are five semitones apart. G3 to B3 is four semitones. Try G3, then move four positions along that row to B3. Compare it with the open B string. The pitch matches even though the selected string is different. If you assumed that the same shape worked unchanged across every pair of rows, this small experiment shows where that assumption breaks down.
Yamaha’s acoustic guitar playing guide is a reference for the physical instrument. Here, the standard tuning is used only as the starting point of a browser note map. There is no tension adjustment or alternate-tuning control. Do not turn a real guitar’s tuning pegs to follow an exercise unless you have an appropriate tuning reference and understand the intended tuning.
Find one pitch in two places
Play A2 at the fifth position of the low E string, then play the open A string. Both buttons represent A2. Try to compare the pitch rather than the row label. On this lightweight synthesized instrument, the tone is generated from the selected frequency; it does not reproduce the different acoustic colour that two physical strings can give to the same note.
Repeat the comparison with D3 at the fifth position of the A string and the open D string. Next compare G3 at the fifth position of the D string with the open G string. These pairs help you see the fretboard as connected territory rather than six unrelated lists. You can reach a musical destination by more than one route.
The same-pitch idea has a practical limit here. Each row stops after seven semitones, so many higher positions on a real guitar are absent. Do not conclude that a note exists in only one place because this small map shows only one button for it. The page is deliberately restricted so that a beginner can explore a manageable section without scrolling through an entire neck.
When you transfer the idea to a real instrument, listen carefully and use a teacher or a reliable tuner if the notes disagree. String condition, tuning, pressure, and instrument setup can affect what you hear. The browser model cannot diagnose those causes. Its useful contribution is to make the intended pitch relationship unambiguous before the physical variables are introduced.
Play an original five-note phrase
Use D3–E3–F sharp3–E3–D3 on the D string. The positions are zero, two, four, two, zero. Give the first four notes equal spacing, then allow a little more time after the final D. The phrase rises, turns, and returns. It is an original practice pattern, not a transcription of a commercial song or a test of whether you have natural talent.
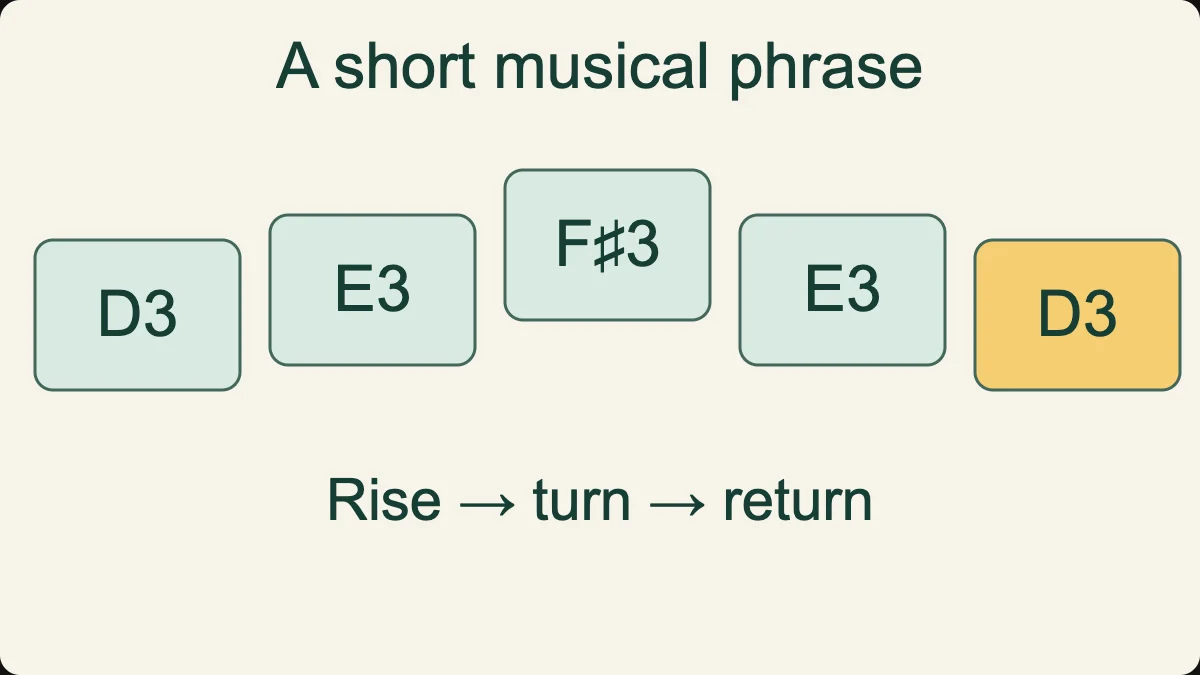
First play while reading every label. On the second attempt, keep your eyes on the row but try to remember the sequence. On the third, listen to the phrase once and leave a short silence before repeating it. These are different tasks: following instructions, remembering locations, and remembering sound. If one is harder than another, you have found a useful practice target rather than a reason to stop.
Now change the final note to E3. The first four notes remain unchanged, but the ending is different. Listen to the effect without insisting that everyone must describe it with the same emotion. A musical ending can be compared directly even when you do not yet have a large vocabulary of theory terms. Restore the original ending and alternate between the two versions.
Finally, keep the original notes and change only the timing. Leave a pause after F sharp3, then return through E3 to D3. You have not added any new pitches, but you have changed the grouping. This is why learning a melody as a string of letters is incomplete. The starts, pauses, and relative lengths help define what a listener recognises.
A small practice table
| Goal | What to do | What to notice |
|---|---|---|
| Find notes | Read zero, two, four, two, zero slowly | Whether you remain on the D row |
| Remember sound | Listen, wait, then repeat | Whether the middle note is highest |
| Control timing | Use equal starts before changing one pause | Whether the phrase still has a clear return |
Hear a step, a fifth, and an octave
Play E2 followed by F sharp2 on the same row. The distance is two semitones, a major second. Return to E2, then play B2 at the seventh position. That distance is seven semitones, a perfect fifth. Compare the two jumps from the same starting note. A stable reference makes the difference easier to hear than comparing unrelated pairs.
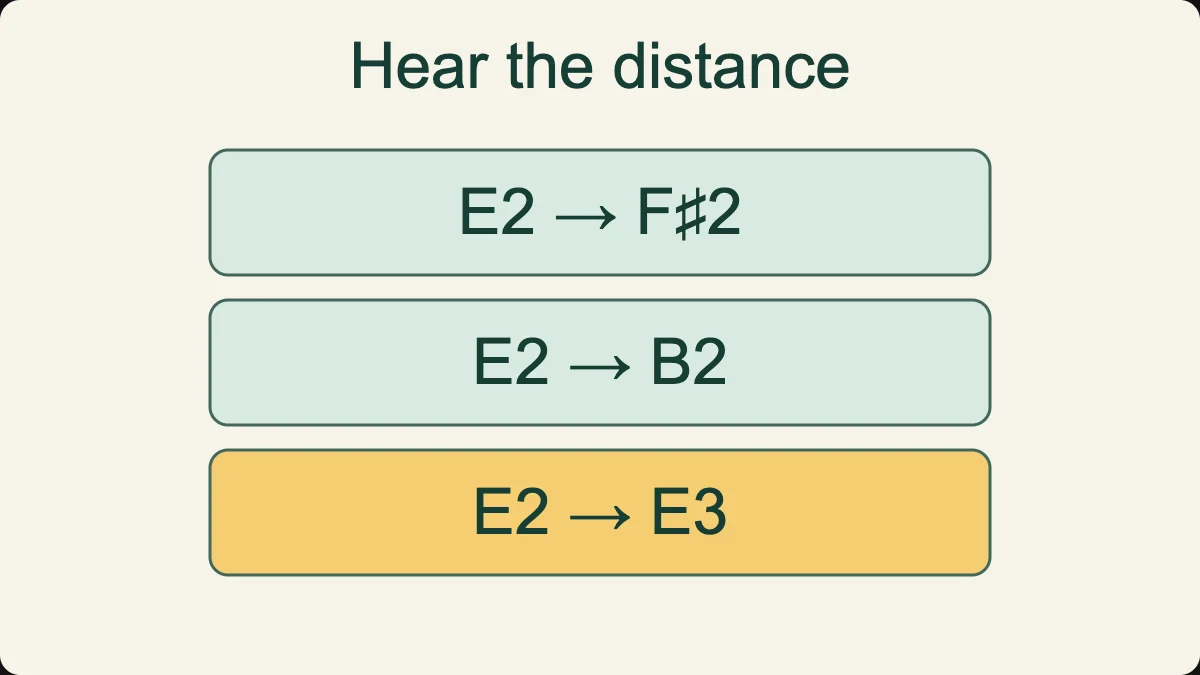
For an octave, compare E2 with E3 at the second position of the D string. They have the same letter name in adjacent registers. The upper frequency is twice the lower frequency in this model. The display can confirm the relationship, but try listening before reading it. A number can verify a calculation without doing the listening task for you.
Do not rush to name every interval. Begin by deciding which jump is larger and whether the second note goes upward or downward. Then attach the name to a relationship you have already heard. You can practise a more focused comparison with the interval listening test, while remembering that a short web result describes that attempt, not your overall musical ability.
A common mistake is to confuse a higher note with a louder note. Keep the volume control unchanged throughout the comparison. If one pitch seems more prominent on your speakers, play it more quietly in your mind rather than assuming it is farther away musically. Pitch distance concerns frequency relationships; perceived loudness can also depend on the device and the tone’s overtones.
Why this is not an automatic chord player
The main purpose is to select and compare individual notes. It does not offer named chord buttons, a strumming engine, or an accompaniment track. Some notes can overlap while their sounds fade, but an overlap is not evidence that the page has checked a chord shape. If you want a chord, you need to know which pitches belong to it and which registers you intend to use.
You can still explore a broken chord one note at a time. Try D3, F sharp3, and A3, all available on the D row within the first seven positions. Play them in order, then return through F sharp3 to D3. This lets you hear the note collection without demanding a full simultaneous grip. It does not teach the finger arrangement needed to play a D chord on a physical guitar.
On a real instrument, a chord diagram also involves finger choice, muted strings, pressure, and position. None of those are measured here. Keep the distinction clear when practising with a child or a new learner: success in selecting three buttons is useful pitch exploration, but it is not a certificate of guitar technique. For hearing chord qualities, use an appropriate listening exercise rather than making the browser map do every job.
Use Listen and repeat as a short check
The listening button plays a fixed three-note pattern, then invites you to reproduce its order. For this guitar profile, the reference is A2 and the pattern is A2–C sharp3–B2. Wait until the playback has finished before answering. Select one note at a time. The result compares your selected pitches with those three targets; it does not listen through a microphone.
If the result is not correct, separate the likely causes. You may have heard the sequence but chosen the wrong row. You may have remembered the first and last notes but confused the middle. Or you may have started answering while the demonstration was still playing. Listen again and change only the part you are checking. Repeating blindly is less useful than identifying one specific uncertainty.
The exercise is intentionally small and fixed. After several attempts, you may remember its buttons, so a perfect result should not be treated as a fresh assessment each time. Use it to understand the interaction and make an initial comparison. For varied ear-training practice and continued study, explore KulakApp rather than expecting this short demonstration to provide a complete personalised programme.
No result on this page diagnoses hearing, predicts examination success, or measures all aspects of musicianship. It checks a narrow action under the conditions of your device and your attention at that moment. A useful response is to choose a next step: compare two pitches, locate the correct string, or slow down the sequence. That is more informative than attaching a permanent label to yourself.
Give the notes a steady pulse
Play D3 on beat one, E3 on beat two, D3 on beat three, and make no new attack on beat four. Count all four beats, including the silent one. The previous note may continue fading during the fourth beat; the instruction means that you do not start another note. This distinction between a new attack and a sound’s decay is important with plucked instruments.
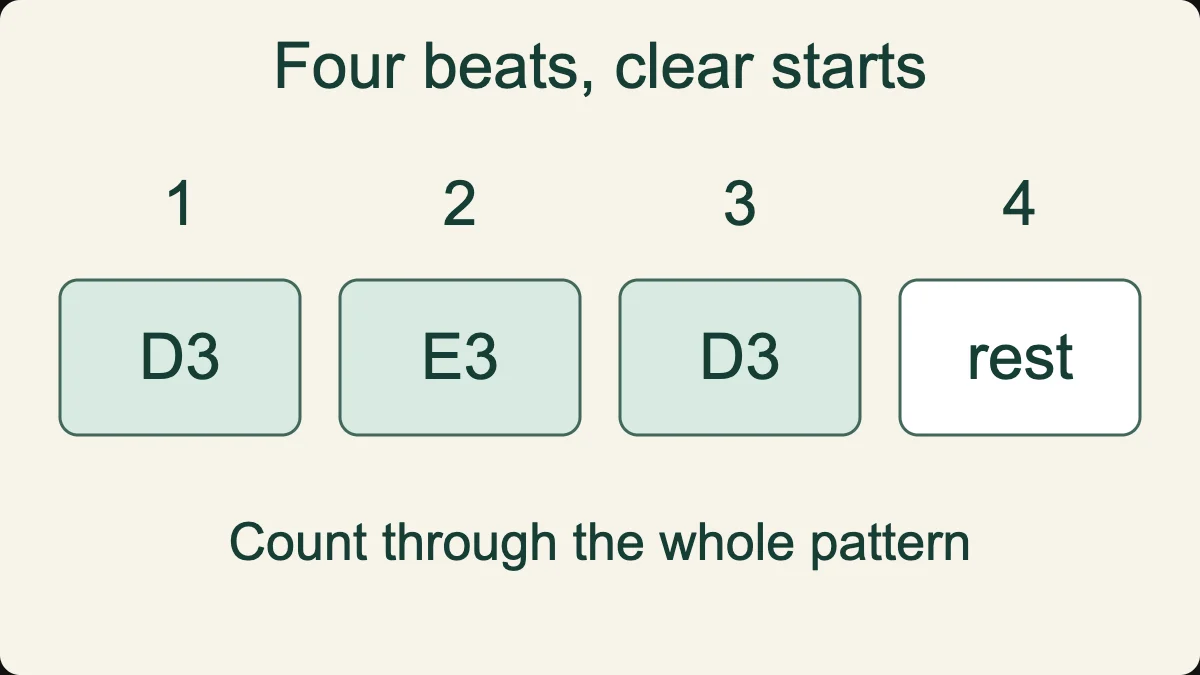
Use the online metronome if you need an external pulse. Start slowly enough to select the next note without rushing. There is no universally correct beginner tempo for a browser interface. Choose a pace at which your note starts are deliberate, then increase it only after the pattern remains clear for several repetitions.
If you miss a note, avoid squeezing two hurried attacks into the next beat to catch up. Stop, count a fresh four beats, and begin again. The aim is to make the timing understandable, not to maintain an unbroken stream at any cost. A short accurate attempt can teach more than a long attempt in which every error changes the pulse.
Fix a sound or control problem
If there is no sound, tap a note directly first. Browsers normally require a user action before audio can begin. Check the device output, the page slider, and whether headphones are connected elsewhere. Then try one middle or high string. If those notes are audible while the low E is weak, the speaker may be the limiting factor rather than a missing note in the tool.
If sounds pile up, use Stop sound and restart with a gap between attacks. Moving to another tab also stops the current instrument. If the browser has been suspended in the background, return to the page and make a fresh tap. Avoid running several sound-producing pages together while diagnosing a problem, because another tab can make it seem that this instrument has failed to stop.
If buttons feel small on your phone, keep the page at its normal scale and use the responsive rows rather than trying to tap a screenshot. Every playable note is a labelled button. You can switch to keyboard navigation on a computer when precise touch is difficult. The map is not intended to reproduce a physical guitar’s finger spacing, so screen distance is not a technique lesson.
If the tone does not sound like your own guitar, that is expected. A synthesized pluck cannot reproduce your instrument’s body, pickups, strings, room, or playing style. The frequency and note relationships are the learning reference. For tone evaluation, use your real instrument and an appropriate recording or teacher, not a browser oscillator as the standard of good sound.
Questions about the virtual guitar
Is this virtual guitar free?
Yes. You can play the note map and the short listening demonstration without an account. The web tool offers a limited starting activity; it is separate from the features and subscription choices in the KulakApp mobile application.
Can I tune my real guitar with it?
It produces reference pitches, but it does not listen to your strings or tell you whether they are sharp or flat. Use a suitable tuner for that task. This page is primarily for exploring note relationships, not for measuring an acoustic signal.
Does it record me or ask for microphone access?
No microphone is needed. Sound is generated locally when you use the controls. The listening exercise checks the note buttons you select, not your voice or your physical guitar. Site analytics preferences are separate from instrument playback.
Why are there only seven positions after each open string?
The map is a short introduction designed to stay manageable on a phone. A real guitar has more positions. The limited display should not be used to infer the instrument’s full range or to decide that a missing high note is impossible.
Will practising here teach me to play guitar?
It can help you hear pitch movement and understand a small section of the note map. It cannot teach fretting pressure, picking, posture, muting, or coordination on a physical instrument. Use it alongside practical instruction, not as a replacement for handling a guitar.
Choose a useful next activity
Before ending a session, choose one observation that you could explain without the screen. For example, you might say that the fifth position of the low E string matches the open A string, or that the G-to-B open-string gap is smaller than the D-to-G gap. Check that statement once by playing the relevant pair. This gives your practice a concrete outcome. It is more useful than remembering how many minutes the page was open, because time on a page does not show which musical relationship became clearer.
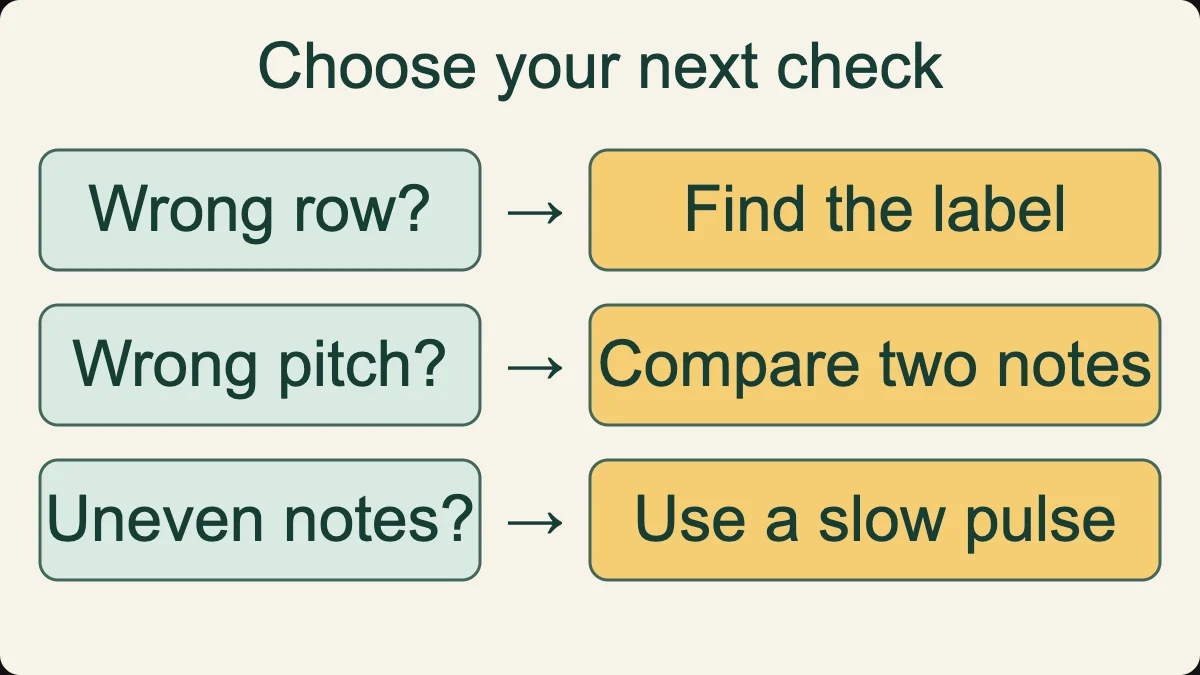
If the row labels are still unfamiliar, repeat only the open strings and say their names. If locations are easy but the sound sequence is difficult, spend a few minutes comparing two notes without watching the display. If both are clear, make an original three-note phrase and change just its rhythm. Each choice addresses a different skill instead of simply increasing speed.
For reading pitch names on a staff, visit the note reading test. For another way to see semitone steps, compare the virtual piano. For continued listening practice, follow the KulakApp download links on this page. A store-link click opens the relevant store; it is not itself an installation or a promise about learning results.