Virtual Bass Guitar: Play Bass Notes Online
Choose a labelled note to play this free virtual bass guitar. Explore four strings, compare low pitches, and build a short bass pattern with a clear pulse. The sound is generated in your browser without a microphone or an account. It is a lightweight synthesized pluck, not a recording of a particular bass, amplifier, or performer.
Play the bass
Original synthesized sound. No microphone. Select a labelled note; these controls are not physical fingering instructions.
Loading the instrument…
The map covers the open E, A, D, and G strings and seven semitone positions above each one. It is a limited starting tool for listening and finding notes, not a complete fretboard or a lesson in physical bass technique. You can make a useful musical comparison here even if you have never held a bass guitar.
Begin with a clear attack, not a fast run
Play the open A1 string once and wait for its sound to fade. Repeat it with a comfortable gap. Listen for the start of each note: that small moment is where the rhythm becomes clear. If you tap repeatedly as quickly as possible, you may hear activity without learning much about where each note begins. A slower attempt makes both the pitch and the timing easier to follow.
Now choose E2 at the seventh position of the A string. Alternate A1 and E2, leaving the same amount of time between their starts. These two notes give you a root-and-fifth relationship when A is the reference. You do not need a backing track to hear the contrast. Return to A after each E and notice how the repeated reference helps you keep your place.
Use touch, a mouse, or the keyboard. Tab reaches the controls; the arrow keys move between note buttons, and Enter or Space activates a focused note. The sounds decay naturally after each attack. Holding a button does not create an indefinitely sustained tone. Stop sound and Escape clear the current sounds, and leaving the tab stops the instrument rather than allowing it to continue unnoticed.
Keep the volume modest while checking your output. Very low notes can be weak on a small phone speaker. If you cannot hear the lowest string clearly, try D2 or G2 before raising the volume. A more suitable speaker or headphones may help, but the page should never require uncomfortable listening levels. The display identifies the selected note even when your device cannot reproduce its low fundamental strongly.
Understand the four-string bass map
The standard open-string pitches used here are E1, A1, D2, and G2, from low to high. Each pair of neighbouring open strings is five semitones apart. Yamaha’s explanation of four-string and five-string basses identifies E–A–D–G as the traditional four-string tuning. This tool uses that tuning only; it does not add a low B string or offer alternate tuning.
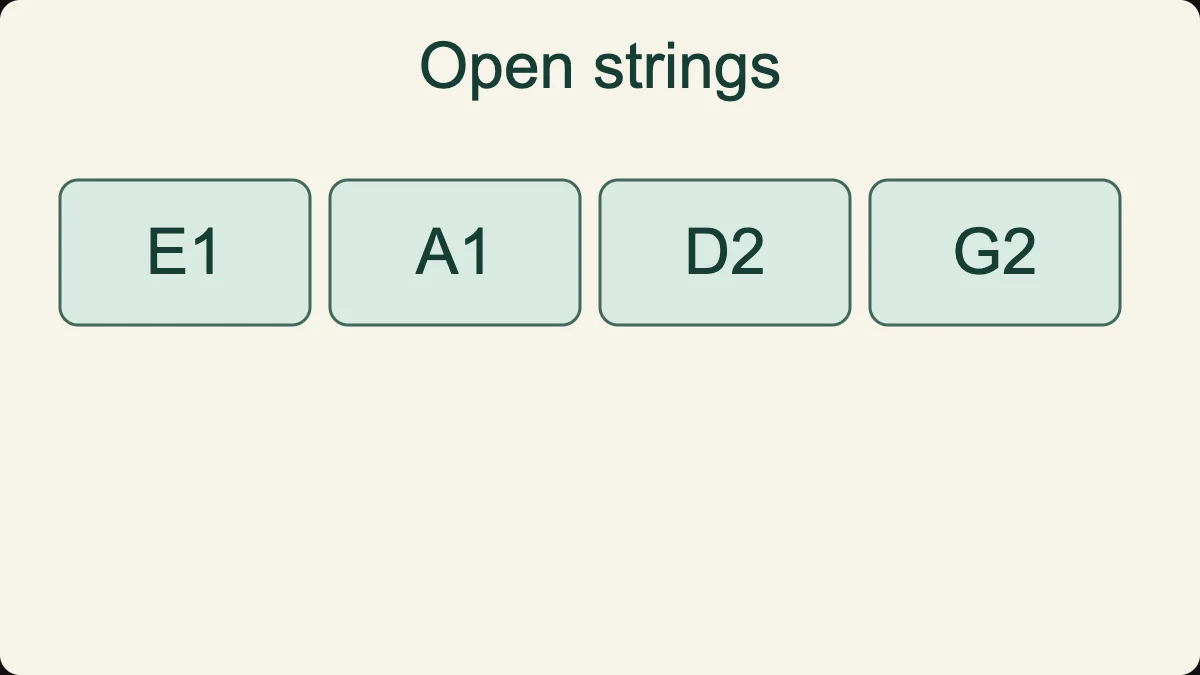
The numbers after the note names identify the sounding register. E1 and E2 share a letter but are an octave apart. That information is important on bass because the same letter may appear in several places. This page labels sounding pitches directly rather than asking you to interpret staff notation or an octave-transposing part. Read the full label when comparing two positions.
Position zero is the open string. Moving one position to the right raises the note by one semitone. On the A row, the first positions are A1, A sharp1, B1, C2, C sharp2, D2, D sharp2, and E2. The octave number changes between B and C. It does not reset because you switch strings, and it is not a score or a level of difficulty.
There is no intervening sharp button between B and C or between E and F. Those pairs are already a semitone apart. The map uses sharp names for the other chromatic positions, though some music would spell the same equal-tempered pitch with a flat. For example, A sharp and B flat select the same frequency here. Correct written spelling depends on musical context, not just on the available button label.
Find the same pitch on a neighbouring string
Play A1 at position five on the E string, then compare it with the open A string. The pitch is the same. Next find D2 at position five on the A string and compare it with the open D string. Finally compare G2 at position five on the D string with the open G string. These links turn four rows into a connected map.
The synthesized sound does not reproduce the subtle change of colour that a physical instrument can produce when the same pitch is played on different strings. Here, the frequency is the common reference. On a real bass, the player also considers reach, tone, muting, and the notes that come next. Knowing that two positions match is a useful beginning, not a complete fingering decision.
Separate pitch, register, and tone colour
Play E1 and then E2 at the second position of the D string. You hear an octave relationship: the upper frequency is twice the lower one in this equal-tempered model. The two sounds are not identical, even though both are named E. The higher note may be easier to hear on your device, which is a property of the listening setup as well as the selected register.
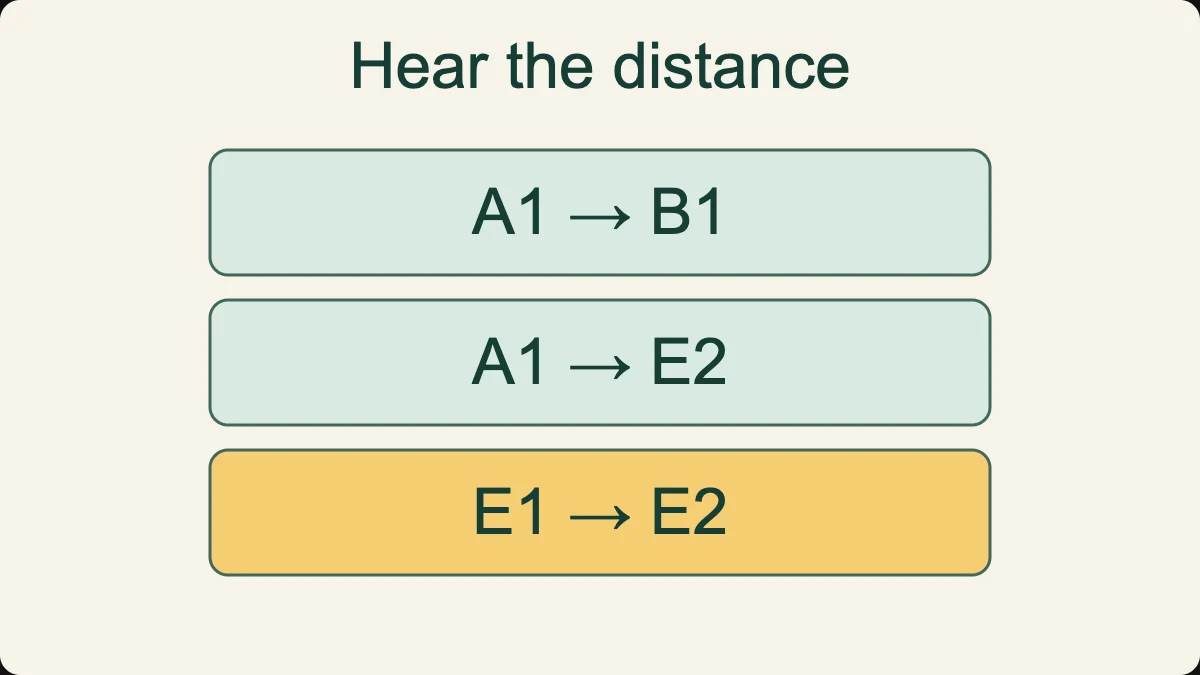
Next compare A1 with B1, two semitones higher on the same row. This is a smaller distance than the octave. Then compare A1 with E2, seven semitones higher. Keep returning to A1 between comparisons. A repeated reference reduces the memory demand and lets you focus on the size and direction of the jump rather than trying to remember several unrelated sounds.
Tone colour is a separate question. The browser model combines a fundamental with quieter overtones and a short decay. It does not reproduce a particular pickup, string brand, playing hand, cabinet, or room. If you prefer a brighter or darker physical bass tone, that preference does not change which button represents A1. Use this tool to compare pitches, not to evaluate a recording’s production quality.
A useful listening question is therefore specific: “Did the second note go up?” is different from “Did it sound brighter?” and “Was it louder?” Keep the slider fixed and compare one relationship at a time. You can continue with the interval ear-training tool when you want a task focused more directly on recognising pitch distance.
Build a short original bass pattern
Try A1–E2–A1–C2, then return to A1. Every note is available on the A string: positions zero, seven, zero, three, zero. Read the labels slowly before adding a pulse. The jump to E is larger than the movement from A to C. Hearing those different distances is part of the exercise, rather than a detail to rush past on the way to playing faster.
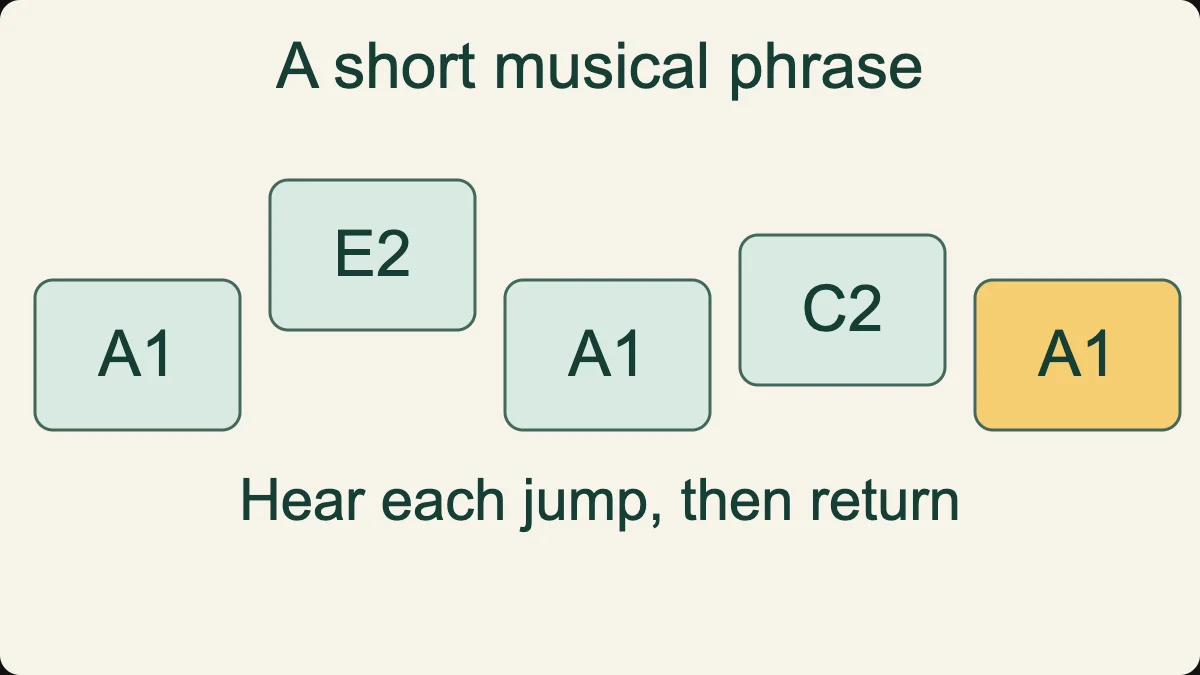
Give each of the first four notes the same spacing and leave a little extra time after the final A. This creates a small beginning, movement, and return. The pattern is an original example for this page, not a transcription of a copyrighted bass line. There is no requirement to recognise a song. You are listening to how a few notes can form an understandable shape.
On the second attempt, replace C2 with B1 while keeping the other notes unchanged. Compare the two versions. The last movement back to A is now smaller. You do not need to describe either version with a fixed emotional label. A direct observation about pitch distance is enough: one ending approaches the reference from three semitones above, the other from two.
On the third attempt, restore C2 but put a rest before it. The pitch collection stays the same while the rhythm changes. This helps separate note choice from timing. If both are changed at once, it becomes difficult to explain why a pattern sounds different. A small controlled variation is more informative than a completely new run of notes after every attempt.
Keep a short practice record
| Question | What to check | Next action |
|---|---|---|
| Did I find the notes? | Correct row and position | Repeat without a pulse |
| Did I remember the order? | Large jump followed by return | Listen before playing again |
| Were the starts even? | Space between attacks | Slow down and count |
| Did I leave the rest? | No extra tap during silence | Count the empty beat aloud |
Make a bass line support the pulse
Use four counted beats. Play A1 on beat one, make no new attack on beat two, play E2 on beat three, and leave beat four without a new attack. Keep counting during the gaps. A note may continue fading after its start, so a rest in this exercise means that you do not trigger another button. The instrument does not require you to tap on every beat.
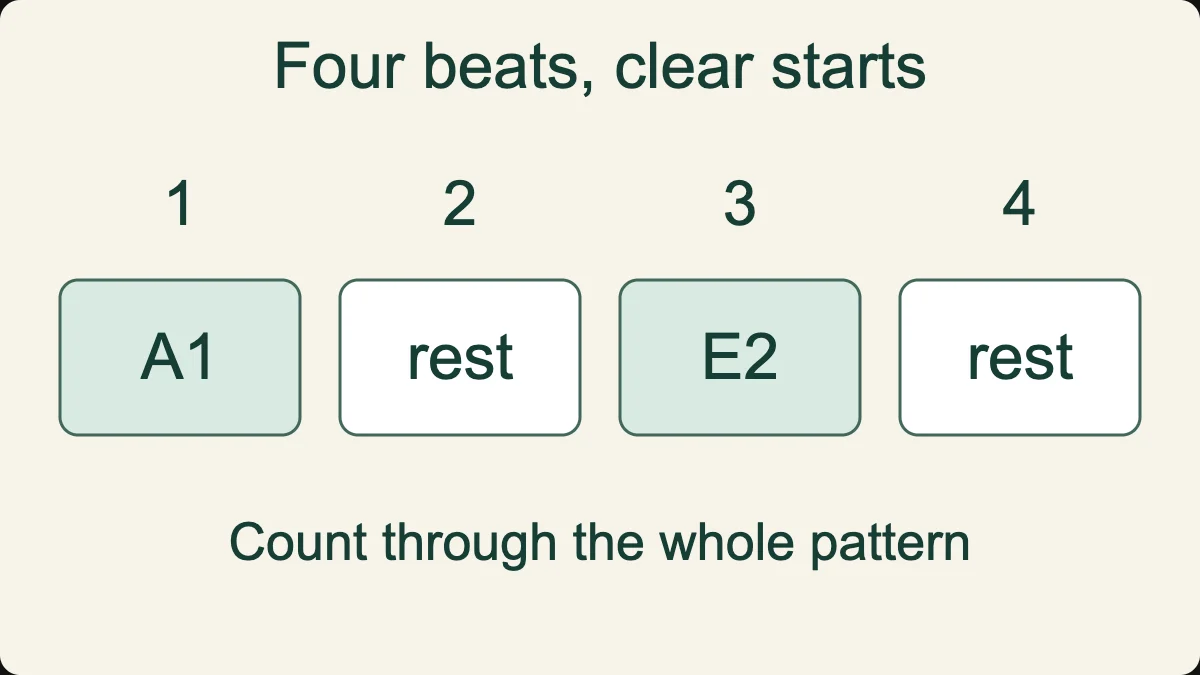
Now play A1 on both beats one and two, followed by E2 on beat three and a rest on four. You have changed the activity without changing the two-note material. Listen to whether the extra attack feels deliberate. If it causes you to rush, remove it again. More notes do not automatically make a bass line more useful or an exercise more advanced.
The online metronome can supply a steady reference. Choose a slow pace that allows you to select a note calmly. Browser input and a physical instrument are different, so do not treat your fastest tapping speed as a measure of instrumental technique. The goal is clear placement relative to a pulse, not an impressive number on a tempo control.
If you make a mistake, stop and count a new bar before restarting. Trying to repair a missed beat with several fast notes usually makes the pattern less clear. You can also simplify to a single A on beat one of every group of four. That smaller task is still meaningful because it checks whether you can maintain the count while nothing new is sounding.
Compare bass and drums without masking the problem
A drum pattern and a bass pattern can both help describe time, but they do not do exactly the same job. The bass notes also carry pitch relationships. Begin by counting and playing your bass pattern alone. If it is uneven by itself, adding a busy drum loop may hide the uncertainty rather than solve it. Keep the musical example small enough to understand.
You can explore attacks and rests separately on the virtual drum kit. When comparing tools, stop one before starting the other so that browser tabs do not produce confusing overlapping sound. This page does not synchronise with a drum sequencer, record a performance, or export an arrangement. Those features should not be inferred simply because both instruments are available on the site.
Try saying the count without playing, then tap the intended rhythm on a table, and finally choose the bass notes. These three versions separate the pulse, the attack pattern, and the pitch selection. If the rhythm works on the table but not on the note map, location is likely part of the difficulty. If the count itself wanders, reduce the pattern before adding more notes.
Understand the short listening exercise
Listen and repeat plays A1–C sharp2–B1 for this bass profile. Wait for the demonstration to finish, then select the three notes in the same order. The tool compares the pitches of your button choices. It does not measure your singing, listen to a bass plugged into your computer, or analyse sound from a room. No microphone permission is needed for the activity.
The result is narrow by design. Three correct choices show that those selections matched that short demonstration. They do not prove perfect pitch, establish a general musical aptitude, or predict performance in an examination. Device output, attention, and familiarity with the map can all affect the attempt. Use the result to choose a next exercise rather than to judge yourself as a musician.
If the middle note is repeatedly wrong, compare only A1 and C sharp2 before restarting. If you remember the sound but click a neighbouring button, practise locating the label without a timed task. If all notes become unclear on your speaker, try the higher register or another output device. Different problems need different responses; simply pressing Listen again faster is not a practice method.
The demonstration stays fixed, so after repeated attempts you may remember its sequence mechanically. That is not a defect to hide with a large score. It is a boundary of this small free example. For varied listening practice, explore the ear-training guide and the KulakApp application rather than treating one familiar three-note pattern as an ongoing assessment.
Use roots and fifths without inventing a chord progression
Calling A a root in an exercise means that it is the chosen reference for that particular example. It does not mean every A in every piece must be a root. Likewise, E is a fifth above A in the pattern, but the musical role of an E depends on the surrounding harmony. A two-note browser example can demonstrate a relationship without identifying a whole song’s key.
Try D2 and A2 on the D row, at positions zero and seven. The same seven-semitone relationship appears from a different starting pitch. Compare it with A1 and E2. This is a practical first encounter with moving a pattern while preserving its distance. Do not change only one note and assume the relationship remains the same; check the number of semitone steps.
For an octave above A1, use A2 at position two on the G string. The upper A shares a letter name with the lower reference, but it occupies a different register. Alternate A1, E2, and A2, then return to A1. These positions show a root, fifth, and octave without requiring a full neck. They are pitch landmarks, not instructions for a specific hand shape.
Troubleshoot weak, delayed, or overlapping sound
Start a silent page by tapping a note directly. Browsers commonly wait for an interaction before allowing audio. Check whether your output is routed to Bluetooth headphones, a monitor, or another device. Then check the page’s volume slider. Changing several controls at once makes it harder to know which one solved the problem, so make one adjustment and try the same note again.
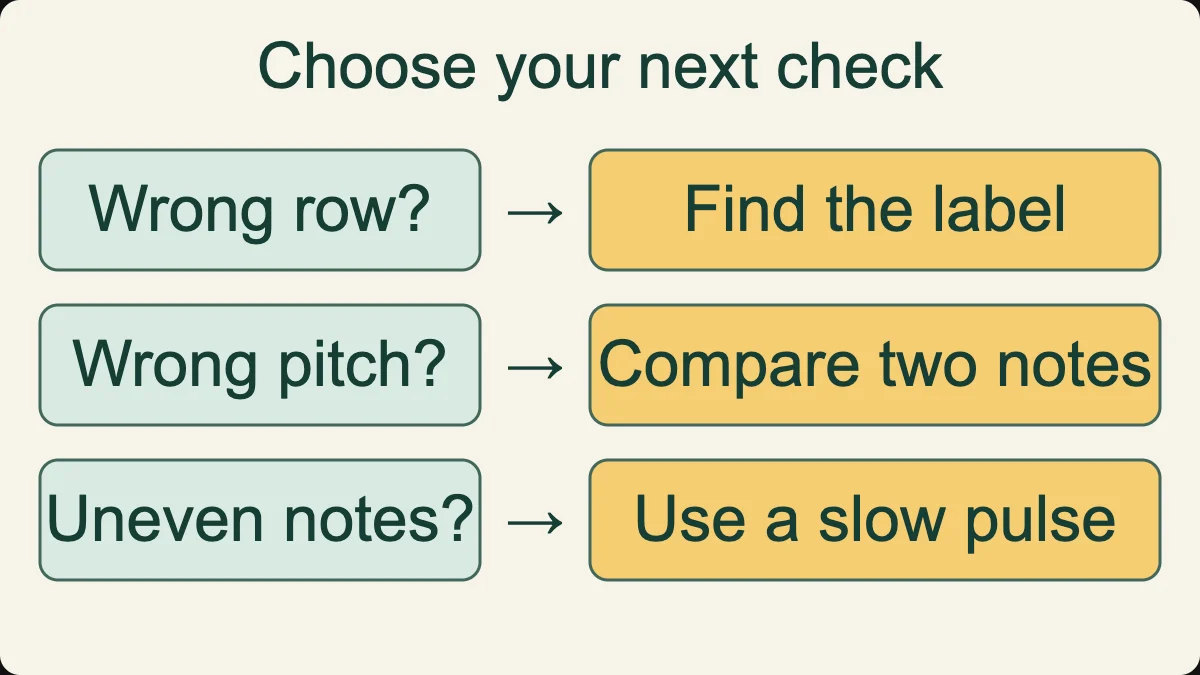
If the lowest notes seem absent but higher notes are audible, test with a different output at a comfortable level. The model includes overtones, but a small speaker may still make the bass sound thinner than expected. Do not use the apparent lack of deep sound as a reason to turn the device up abruptly. The next high note could then be uncomfortably loud.
If sound feels delayed, try removing a wireless audio connection and closing other demanding tabs. This tool does not provide a measured latency calibration, and it cannot guarantee the same response on every device. Distinguish a delayed attack from a wrong pitch: one concerns when the note arrives, the other concerns which note was selected. A slow exercise is useful while investigating either problem.
If notes overlap, press Stop sound and begin with wider gaps. The instrument limits simultaneous voices, but that does not make every combination musically clear. Low notes played in quick succession can be difficult to separate, especially on a small speaker. Concentrate on one line before testing overlaps. The page is not designed as a multi-track composition system.
Questions about playing bass online
Is the virtual bass free to use?
Yes. The note map and short listening activity work without an account. They provide a limited browser starting point. The mobile application’s features and subscription options are separate, and the web page does not claim to include its full learning programme.
Can I use it as a bass tuner?
You can hear reference pitches, but the tool does not listen to your instrument or display tuning error. Use a suitable tuner to measure a real string. Do not mistake the frequency label of a generated note for a measurement of sound in your room.
Why is there no fifth string?
This particular map uses a standard four-string layout. Five-string basses can add a lower B, but that range is outside this tool. A missing button reflects the browser activity’s scope, not a claim that the note cannot be played on a real instrument.
Can I practise slap or fingerstyle technique?
No. Selecting a button does not reproduce the movement, contact, muting, or coordination of either technique. The tool helps with note relationships and a simple pulse. Physical technique needs a real instrument and suitable practical guidance.
Does it record my playing?
There is no audio recording or microphone input in this instrument. It generates sound when you use a control. Site analytics preferences are separate from playback, and the small listening result is based on selected note buttons rather than a recording.
Finish with one relationship you can explain
For a practical transfer check, write a two-note pattern on paper using full labels, such as A1 and E2. Close the note map briefly and describe the direction of each movement. Reopen it and play what you wrote. If the labels were correct but your imagined direction was reversed, spend the next attempt listening rather than locating buttons. If you imagined the direction correctly but wrote the wrong register, keep the octave numbers in your notes. The distinction makes your practice record actionable without collecting personal information or pretending to calculate a universal ability score.
Before leaving, choose one pair of notes and explain its connection. You might compare the open A with the fifth position of the E string, or the lower A with the higher A on the G string. Play the pair once to check your explanation. This small action tells you more about the session than the number of taps or the time spent with the page open.
If pitch locations became clearer, add a simple four-beat pattern next time. If timing improved but notes remain confusing, return to one string without a pulse. If both are comfortable, change the starting note while preserving the same intervals. Continue with KulakApp for structured listening practice; opening a store link is a next step, not a guarantee of improvement or a recorded installation.